Wednesday, September 15, 2010

Birthday Cake

For my youngest girlie's 2nd birthday, I made a cute flip-flop cake.


I used this simple recipe to make a 9X13 sheet cake.

Ingredients:
1 box white cake mix
5.9 oz instant vanilla pudding
1 cup sour cream (light)
3/4 cup oil
4 eggs
1/4 cup water

Mix all ingredients together with a hand mixer.

This is where the cake becomes fun! I wanted to make a rainbow cake, so I divided the cake batter into 3 different bowls. I added different colored gel dye to each bowl of batter.

Layer the colored cake batter into the cake pan. (sorry - forgot to take pics)
Bake for 40-45 minutes.

When cake is cut open, you will find a rainbow of colors! Use as many different colors as you would like. Use this method to make cupcakes too!


To assemble the flip-flop cake, I made two 9X13 rainbow cakes. I made a template by tracing around my husband's flip-flop. Don't worry, I made sure NOT to touch the cake with the side that touched the shoe!! Once the cake had cooled, I flipped it over and cut out the shape of a flip-flop. I made both a right foot and a left foot and I placed the cakes onto a baking sheet.


Next, I made some yummy cream cheese frosting.

Cream cheese frosting:

1 8-oz package light cream cheese, softened
1/2 cup butter, softened
2 tsp vanilla
3-4 cups sifted powdered sugar

Beat the cream cheese, butter and vanilla with an electric mixer until it is light and fluffy. Gradually add the powdered sugar, beating well, until it reaches a consistency that will spread easily. This will frost two 13X9 cakes.

Once the frosting is ready, separate it into two different bowls. Using the gel dye, color a small amount green and color the rest pink. Give the cake a thin layer of frosting, which will seal in all the crumbs.


Frost the top and side of both cakes and then let chill for 30 minutes.

Now it's time to decorate the cake. First, using a big pancake spatula, transfer the cake to the serving plate or cake board. Start by frosting the sides of the cake and don't worry if it smears into the frosting on the top. Now frost the top of the cake.

I bought some Wilton decorating icing at the grocery store and I used it to pipe around the border of the flip-flops.


To decorate the sides, I used gobstopper candy pieces.


To create the thong straps of the flip-flops, I used colored twizzlers.

Lastly, I added a silk flower between the straps. (I recommend cooling cake in the fridge until time for the party, especially if you are going to have the cake outside...ours melted a little bit in the heat.)


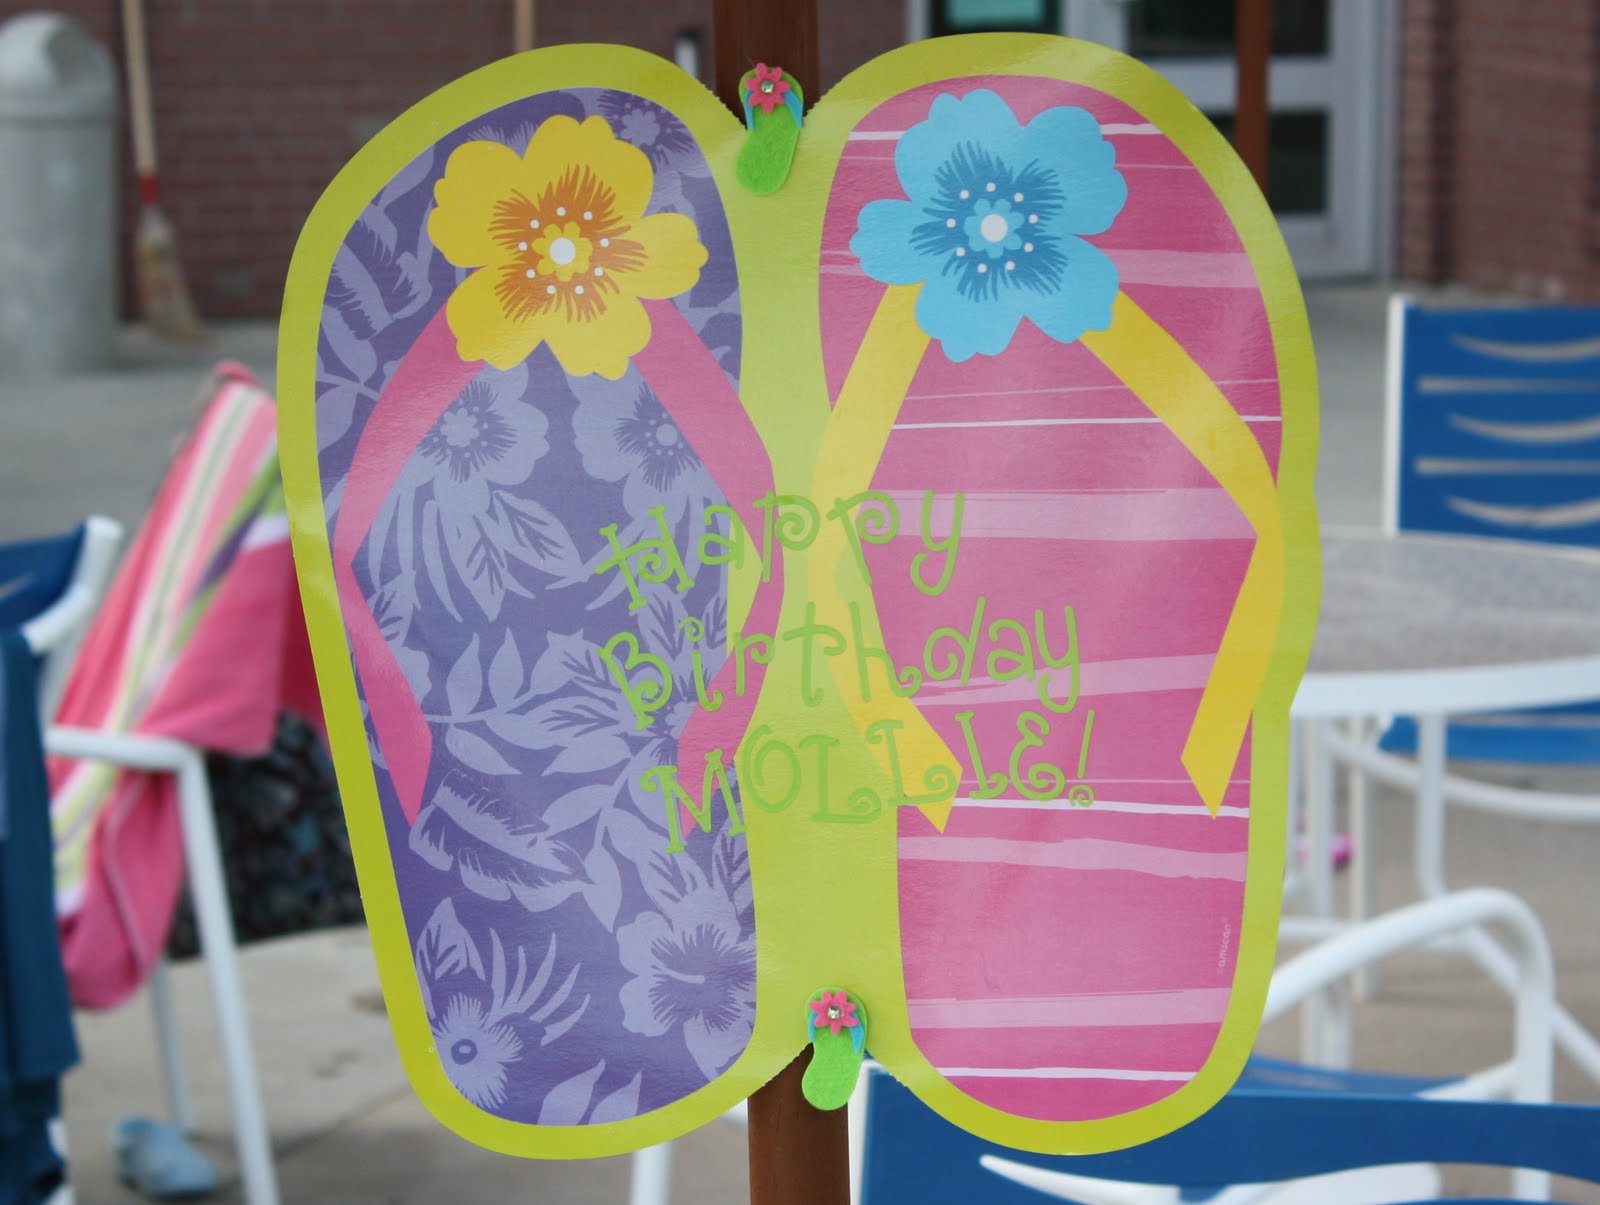
It's complete - a rainbow flip-flop cake for my favorite little birthday girl!!

Sunday, September 5, 2010

Bow Flip Flops

Yes, summertime is coming to an end, so it seems a little late for a tutorial on making flip flops, but if you live in the south, it really doesn't get cold for a while, so keep on wearing those flip flops! Plus, you can find plain flip flops for very cheap right now at places like Old Navy and Target, so go ahead and buy a few for next summer!

This tutorial is for a Boutique bow flip-flop. The possibilities are endless with this project because you can use a number of colors and ribbon patterns, creating your own unique style.


Materials:
one pair plain flip flops
2 pieces 7/8 inch grossgrain ribbon cut to 20 inches
2 pieces 3/8 inch grossgrain ribbon in coordinating colors cut to 13 inches
stick pins
coordinating thread
needle
Fray Check (can find at JoAnns or Michaels)
Scissors

The first step is to make two basic boutique hair bows using the 7/8 inch ribbon.

A. Fold one end of your ribbon over to the 3 1/2 inch mark.


B. Fold the ribbon back over so that the edge of the loop is on the 4 inch mark.

C. Continue wrapping the ribbon back over to make a large loop, making sure that the end of your ribbon is sitting on top of the loop.


D. Push the stick pin into the very middle of the loop. Separate the loops. You should see 3 different layers on each side of the stick pin, 2 loops and 1 straight piece ("tail" as I like to call it). Your loops should be forming an "X" shape.

E. Continue to spread the loops until you get the shape that you want. I prefer to have the "tail" on the right side of the bow.

F. Take your needle and thread it with the coordinating thread. Weave the needle in and out through the center of the bow. Remove the pin and pull the thread as tight as you can. This will create a "pinched" look in the center of the bow. This part can be frustrating. You may have to practice a couple of times before you create the pinched look - just be patient with it and don't give up.


G. Once you have created the look that you want, wrap the thread around the center a few times. Push the needle through the center to secure the bow. Tie the thread off on the bottom side of the bow and cut thread. Make sure bow looks centered.


You have now completed the first step of making the bow. Don't forget to make two because you have two flip flops.

You are now going to attach the bows to the thongs of the flip flops.

A. Take the 3/8 inch ribbon and wrap it around both sides of the flip flop thong two times. Make sure ribbon on the left side of the thong is wrapped upward and ribbon on the right side of the thong is wrapped around downward. This is to enable stability of the bow.


B. Tie the ribbon in a knot in the center of the thong.


C. Place your bow in the center and with the 3/8 inch ribbon, tie a knot around the bow. Tie a second knot. Make sure bow is secure. If the bow does not feel secure, make sure you have the ribbon securely wrapped around both sides of the thong (repeat step A).


D. Trim the edges of the bow and the ribbons with scissors. Apply Fray Check to all edges to prevent fraying.


You now have a new pair of DIY flip flops for your darling little daughter or a sweet friend.

Thursday, September 2, 2010

Flip-flop party


In celebration of youngest curly girlie's second birthday, we had a flip-flop party at our local YMCA swimming pool.


If your children have summer birthdays, I highly recommend having a swimming party. It doesn't require very much work because the children just swim, which is exactly what my girlies and their friends prefer to be doing in the summertime heat.


The kids had a great time splashing each other, swimming, and playing in the fun fountains.


We even had our newest friend attend the party - sweet baby boy!


In keeping with the water theme, we served SUBMARINE sandwiches from my hubby's favorite new sandwich shop, Jimmy John's. I made some SEASHELL pasta salad and a fun snack mix, consisting of goldfish (representing fish), multi-grain cheerios (representing life preserver rings), and Captain Crunch cereal (representing beach balls and floats). We also had one of my favorite candies, Swedish fish. I served everything in sand buckets with shovels as the serving spoons.


I don't think our birthday girl ever got out of the water...


...except to eat birthday cake, of course!!


I made a very simple flip-flop birthday cake. It was fun to make and I thought it turned out pretty cute! The birthday girl loved it and ate it up!!


For the party favors, my Mom made each of the kids a crayon roll with her monogramming machine and I made each child a pair of flip-flops. The older boys got pirate button flip-flops and the younger boys got frogs. The two teenage girls got ribbon tied flip-flops and the younger girls all got flip-flops with bows.


I'll be posting a tutorial for all of these favors, the birthday cake, and the simple invitations in the next few days.

Thanks to all of our sweet family and friends who came to celebrate little curly girlie's second birthday!